

Why you shouldn't open a port to share your app
Opening a port on your router is the oldest way to put a service on the internet, and still one of the riskiest. You forward a port, hand out your public IP, and from that moment every scanner on the internet can knock on your door. Home connections often change IP addresses or sit behind carrier-grade NAT, so the setup is fragile as well as exposed.
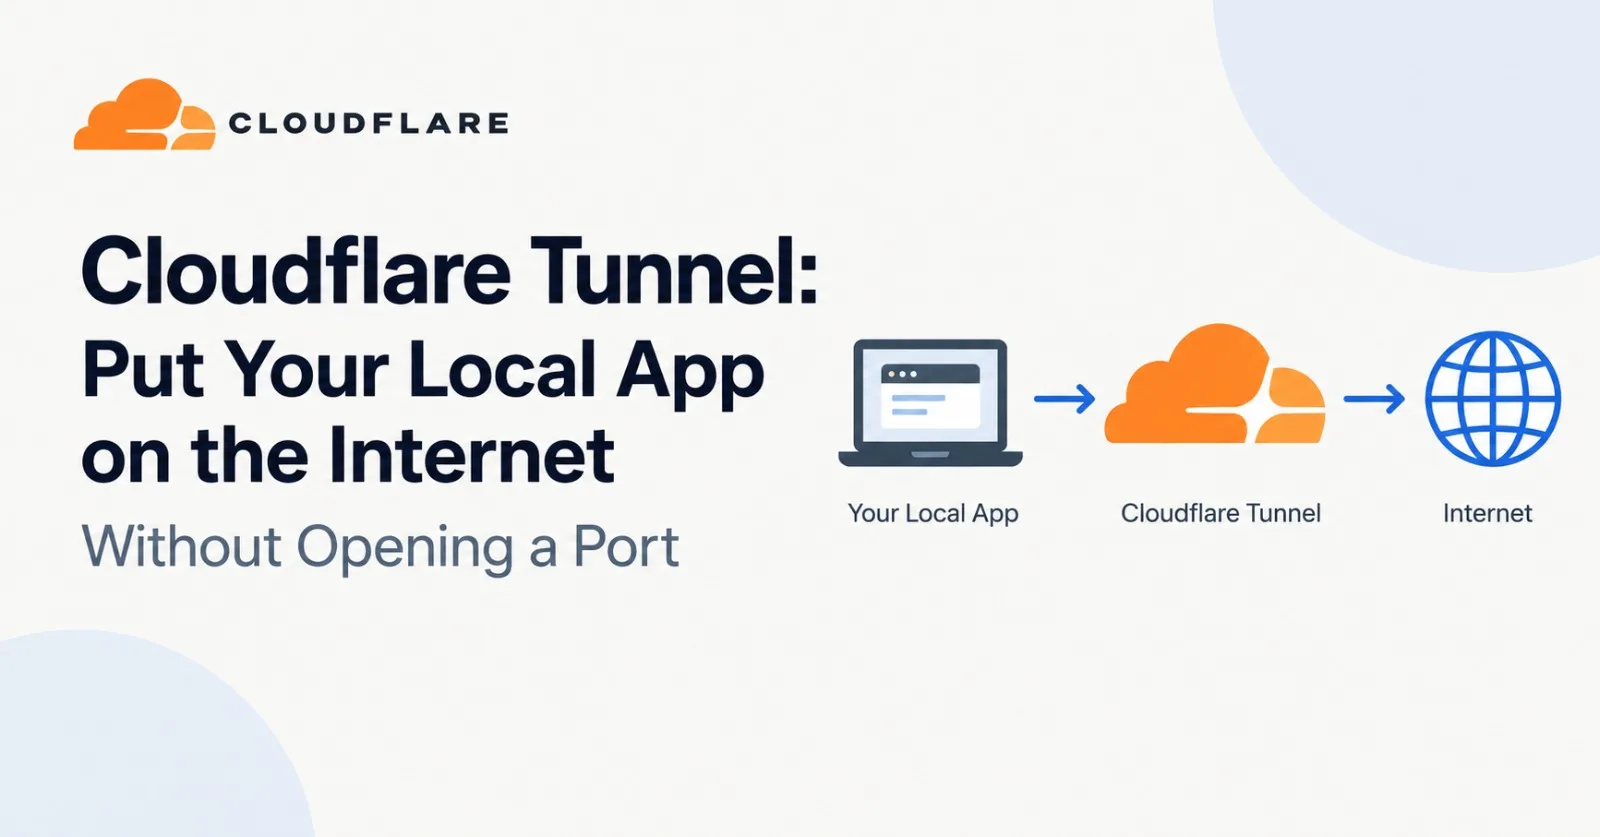
Cloudflare Tunnel flips the direction. Instead of letting the internet connect in, your machine connects out to Cloudflare, and Cloudflare carries visitors back down that connection. Nothing needs to listen on a public IP.
This post covers how that works, how to try it with a single command, how to set up a permanent tunnel two different ways, and how to lock it down so only the right people get through.
How Cloudflare Tunnel works
A small daemon called cloudflared runs next to your app and dials out to Cloudflare. Per the Cloudflare Tunnel docs, those connections are outbound-only, so your origin needs no publicly routable IP address, and most firewalls already allow outbound traffic by default.
Three terms are worth keeping straight:
cloudflared (the connector): the process you install on a server, VM, container or laptop.
Tunnel: a persistent object identified by a UUID. It is the logical link between your origin and Cloudflare.
Route: the rule that maps a public hostname such as
app.example.comto a service on your machine. For published apps this is a DNS record pointing at<UUID>.cfargotunnel.com.
One tunnel can have several connectors running at once, each sending traffic to the nearest Cloudflare data center, so you can add replicas for availability. Tunnels carry more than websites: Cloudflare lists HTTP servers, SSH, remote desktop and other protocols.
The practical effect is that visitors only ever talk to Cloudflare. Your origin serves traffic through the tunnel without being exposed to attacks that go around Cloudflare.
Try it in 30 seconds with a Quick Tunnel
The fastest way to see Cloudflare Tunnel work needs no account and no domain. Install cloudflared (on macOS, brew install cloudflared), start any web server on your machine, and run:
cloudflared tunnel --url http://localhost:8080cloudflared prints a random trycloudflare.com address. Share it and anyone can reach your local server until you stop the process. Cloudflare's Quick Tunnels page suggests sharing a laptop project with people on other networks and testing a site across browsers.
Treat Quick Tunnels as a testing tool. According to that same page:
They are for testing and development only, with no SLA or uptime guarantee.
They cap concurrent in-flight requests at 200; beyond that, requests get a
429.They do not support Server-Sent Events.
They don't work while a
config.yamlsits in your.cloudflareddirectory. Rename it temporarily if you have one.
When you need a stable URL on your own domain, move on to a named tunnel.
Set up a permanent tunnel from the dashboard
For a stable URL on your own domain, create a remotely managed tunnel. The domain must already be added to Cloudflare as a site. The steps below follow the dashboard guide.
In the Cloudflare dashboard, go to Networking > Tunnels and select Create a tunnel.
Name the tunnel after what it connects, then select Create Tunnel.
Pick your operating system, copy the install command shown, and run it on the machine that hosts your app.
Wait for the connection to appear, then continue.
On the tunnel's Routes tab, select Add route > Published application.
Choose a subdomain and domain, and set Service URL to where your app listens, for example
http://localhost:8000.
The install command in step 3 embeds a token and looks like this:
sudo cloudflared service install <TUNNEL_TOKEN>That registers cloudflared as a system service, so it starts at boot and reconnects on its own. If you prefer containers, the same token works with the Docker image:
docker run cloudflare/cloudflared:latest tunnel --no-autoupdate run --token <TUNNEL_TOKEN>Treat the token like a password: anyone who has it may be able to attach their own cloudflared instance to your tunnel.
A few details from the guide that save debugging time:
If the server sits behind a restrictive firewall, check that it can reach Cloudflare on port
7844.Multi-level subdomains such as
a.b.example.comneed an Advanced Certificate for the hostname.A path in the route is passed through to your service unchanged; Cloudflare does not strip it.
A healthy tunnel shows a
Healthystatus on the Tunnels page.
Prefer config files? Use a locally managed tunnel
The dashboard route keeps your configuration at Cloudflare. A locally managed tunnel keeps it in a config.yml on your machine, which suits version control and scripted setups. The commands below follow Cloudflare's locally managed tunnel guide.
1. Authenticate once. This opens a browser, and saves an account certificate (cert.pem) in your cloudflared directory.
cloudflared tunnel login2. Create the tunnel. This ties the name to a UUID and writes a credentials file. Note both the UUID and the credentials path in the output.
cloudflared tunnel create my-tunnel3. Write the config. Put this in ~/.cloudflared/config.yml:
tunnel: <Tunnel-UUID>
credentials-file: /home/you/.cloudflared/<Tunnel-UUID>.json

ingress:
  - hostname: app.example.com
    service: http://localhost:8000
  - hostname: api.example.com
    service: http://localhost:3000
  - service: http_status:404
Each ingress rule sends a hostname to a local service, which is how one tunnel can front several apps. The last rule has no hostname and acts as the catch-all; Cloudflare requires it, and http_status:404 is the usual choice.
4. Point DNS at the tunnel. This creates a CNAME to <UUID>.cfargotunnel.com. Repeat it for each hostname.
cloudflared tunnel route dns my-tunnel app.example.com5. Run it.
cloudflared tunnel run my-tunnelIf your config file lives elsewhere, add --config /path/to/config.yml before run. cloudflared tunnel info my-tunnel shows the tunnel's connections, cloudflared tunnel list shows all your tunnels, and cloudflared tunnel ingress validate checks your ingress rules before you start. Cloudflare's configuration file reference covers path and wildcard matching, and its guide to running a locally managed tunnel as a service keeps the tunnel up after you close the terminal.
Lock it down before you share the link
A tunnel removes the open port. It does not add access control. Cloudflare's guide is explicit that once a hostname is published, anyone on the Internet can reach it unless you restrict it.
Put Cloudflare Access in front of private apps. For admin panels, dashboards and staging sites, create a self-hosted Access application for the hostname and define who may sign in.
Guard the secrets. The tunnel token and the credentials JSON file are what let a machine join your tunnel. Keep them out of git and shared chats, and if one leaks, treat the tunnel as compromised and replace it.
Expose only what you intend. Write one ingress rule per service, and keep the catch-all returning 404 so unmatched hostnames reach nothing.
Keep patching the app. A tunnel hides your server's address, but requests still reach your application through Cloudflare, so a vulnerable app stays vulnerable.
Where Cloudflare Tunnel earns its keep
Demos and previews. A Quick Tunnel gets a half-built app in front of a client in one command, with nothing to deploy.
Local webhook development. Services that call back to a public URL can reach the app on your laptop through a tunnel.
Home servers and side projects. Host a wiki, a media server or a personal site from a machine at home with no port forwarding and no dependence on your ISP's IP address.
Internal tools. Publish a dashboard or admin app on a real hostname and gate it with Access, instead of putting it on a VPN.
SSH and remote desktop. Tunnels carry non-web protocols too, which lets you reach a server without exposing its SSH port.
Private networks. The dashboard guide also covers adding a CIDR route, so a tunnel can bring a whole private IP range into Cloudflare's Zero Trust setup rather than a single web app.
Common gotchas and how to fix them
Most first-run problems come down to six causes. Cloudflare keeps a longer list in its tunnel troubleshooting docs.
Symptom | Likely cause | Fix |
|---|---|---|
Tunnel shows Down or Inactive | cloudflared stopped, or outbound traffic is blocked | Check the service is running, and that the machine can reach Cloudflare on port |
Tunnel is Healthy but the site errors | Status reflects cloudflared's connection to Cloudflare, not whether it can reach your app | From the same machine, run |
Certificate error on | Multi-level subdomain | Order an Advanced Certificate for the hostname, or use a single-level subdomain |
Errors when the origin already uses HTTPS | Service URL protocol doesn't match the origin | Follow Cloudflare's HTTPS origins guide before choosing the service URL |
cloudflared rejects your ingress rules | No catch-all rule at the end | End the list with |
Quick Tunnel won't start | A | Rename the file temporarily |
Wrapping up
Cloudflare Tunnel swaps an open inbound port for an outbound connection, and that one change removes most of what makes self-hosting nerve-wracking. Start with a Quick Tunnel to see it work. Move to a dashboard-managed tunnel when you want a stable hostname, or to a config.yml when you want your setup in version control. Whichever you choose, put Access in front of anything private.
Comments(0)
Join the discussion securely with your ZyVOP account.
Continue on ZyVOP to CommentNo comments yet. Be the first to comment!