

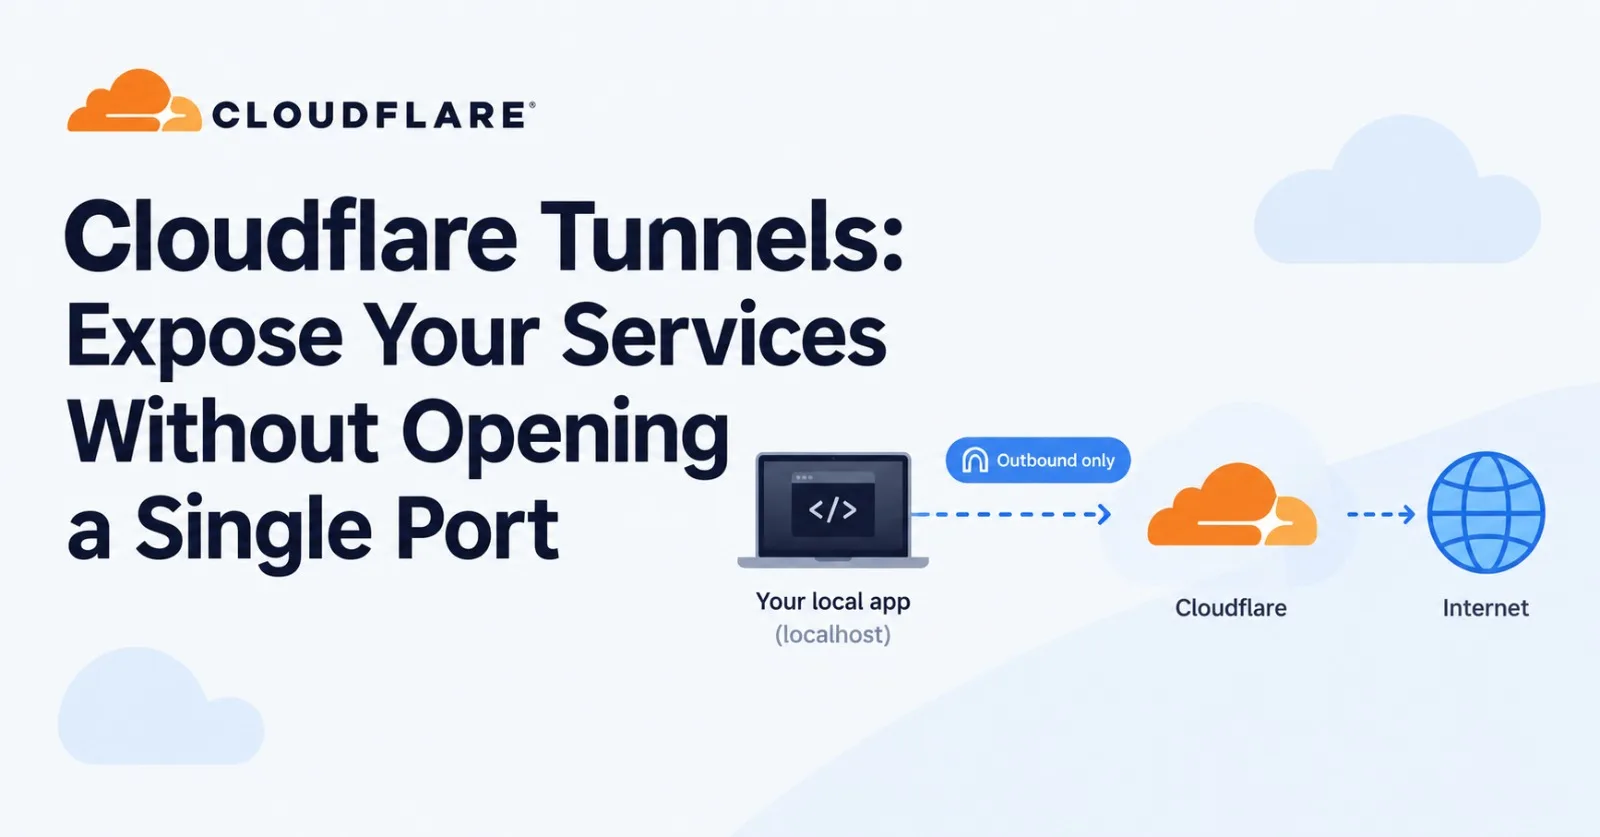
You can put a local app on the public internet without opening a single inbound port, and Cloudflare Tunnel is a free way to do it.
The traditional route is painful. You log into your router, forward a port, hope your ISP hands you a public IP, and then every scanner on the internet can find that open port. On connections behind carrier-grade NAT, which many home and mobile networks use, it often cannot work at all.
Cloudflare Tunnel flips the model. Instead of the internet reaching in to your machine, your machine reaches out to Cloudflare. This post explains how that works, how to get a tunnel running in minutes, and how to lock it down properly.
How Cloudflare Tunnel works
Cloudflare Tunnel connects your service to Cloudflare through outbound-only connections, so nothing on your side has to listen on a public port. A small program called cloudflared runs on your machine and dials out to Cloudflare's network. Most firewalls allow outbound traffic by default, which is why this works almost anywhere. Each tunnel keeps four long-lived connections to two Cloudflare data centers for built-in redundancy.
Four pieces make it work:
The tunnel. A persistent object in your Cloudflare account, identified by a UUID. It is the logical link between your origin and Cloudflare.
The connector. A running
cloudflaredprocess that holds the tunnel open. You can run several connectors for one tunnel, and each attaches to the nearest Cloudflare data center.The route. A rule that maps a public hostname, such as
app.example.com, to a local service, such ashttp://localhost:8080.The DNS record. A proxied CNAME that points your hostname at
<TUNNEL_ID>.cfargotunnel.com, so visitors land on your tunnel.
When someone visits your hostname, Cloudflare receives the request first and sends it down the tunnel to cloudflared, which forwards it to your app. Cloudflare ends the visitor's HTTPS connection at its edge, so your app can speak plain HTTP on localhost while visitors still see a valid certificate. The trade-off is that Cloudflare can see that traffic, as it can for any site behind its proxy.
[embedded content: how a request reaches your app · 4 stops, 1 outbound link]
The dashed line is the part that matters: cloudflared opens it from inside your network, so Cloudflare never has to connect in.
Why use it
A tunnel gives you public reachability without the usual exposure. The main reasons people choose it:
No inbound ports. Your router and firewall stay closed, so scanners have nothing to probe, and your origin IP stays hidden behind Cloudflare.
No public IP required. Because the connection starts from your side, it works behind home routers and carrier-grade NAT.
Protection on public hostnames. Traffic passes through Cloudflare's network, so its CDN caching, WAF and DDoS protection apply.
More than websites. Cloudflare lists HTTP servers, SSH servers and remote desktops among the things a tunnel can connect.
Low cost. Cloudflare Tunnel is included on every Cloudflare plan, and the free Zero Trust plan, which adds login protection through Access, is reported to cover up to 50 users. Check Cloudflare's current pricing before you rely on that limit.
Try it in a minute with a quick tunnel
A quick tunnel is the fastest way to see Cloudflare Tunnel work: one command, no Cloudflare account, no domain.
Install
cloudflared. On macOS usebrew install cloudflared, on Windowswinget install Cloudflare.cloudflared, and on Debian or Ubuntu use Cloudflare's apt repository.Start anything that listens locally. For example,
python3 -m http.server 8080serves the current folder.Run the tunnel:
cloudflared tunnel --url http://localhost:8080Open the
trycloudflare.comaddress thatcloudflaredprints. Your local server is now reachable from anywhere.
Treat this as a testing tool. The address is random and changes every time, and anyone who has the link can open your service. Quick tunnels have no uptime guarantee, cap at 200 in-flight requests, and do not support Server-Sent Events.
If you want to share a link with one person, add --allowed-mail [email protected]. Visitors then enter their email address and a one-time PIN before they can see anything. For a stable hostname, a login that outlives the process, or several services at once, you need a named tunnel.
Set up a named tunnel
A named tunnel gives you a permanent hostname on your own domain. You need a Cloudflare account, a domain whose DNS is managed by Cloudflare, and a machine with internet access to run cloudflared. If that machine sits behind a strict firewall, make sure it can reach Cloudflare on outbound port 7844.
Option 1: the dashboard
This is the simplest path, because Cloudflare stores the configuration and you only run one command on your machine.
In the Cloudflare dashboard, go to Networking, then Tunnels, and select Create Tunnel.
Name the tunnel after the machine, such as
home-server, and choose its operating system.Copy the install command the dashboard shows and run it on that machine. On Linux and macOS it looks like the line below.
sudo cloudflared service install <TUNNEL_TOKEN>Wait for the tunnel to show Healthy, then open it and go to Routes.
Select Add route, then Published application.
Pick a subdomain and domain, and enter the Service URL where your app listens, such as
http://localhost:8080.Save the route and open your hostname in a browser.
Prefer containers? The same token works with Docker:
docker run cloudflare/cloudflared:latest tunnel --no-autoupdate run --token <TUNNEL_TOKEN>Treat the token like a password. Anyone who has it can attach their own cloudflared to your tunnel, so keep it out of chats, public repos and shared Dockerfiles.
Option 2: the command line
Choose this route when you want the configuration in a file you can keep in Git. You log in once, create the tunnel, point DNS at it, and run it.
cloudflared tunnel login
cloudflared tunnel create home-server
cloudflared tunnel route dns home-server app.example.com
Then create ~/.cloudflared/config.yml with your tunnel ID and routing rules:
tunnel: <TUNNEL_ID>
credentials-file: /home/you/.cloudflared/<TUNNEL_ID>.json

ingress:
  - hostname: app.example.com
    service: http://localhost:8080
  - service: http_status:404
The last rule is a required catch-all. Any request for a hostname you did not list gets a 404 from cloudflared itself. Check the file with cloudflared tunnel ingress validate, then start the tunnel:
cloudflared tunnel run home-serverTo publish more services through the same tunnel, add more hostname rules above the catch-all. Rules are checked from top to bottom, and the first match wins.
Lock it down with Cloudflare Access
A published hostname is public by default, so put a login in front of anything that is not meant for everyone. Cloudflare Access does this at Cloudflare's edge: visitors authenticate first, and only approved requests ever travel down your tunnel. Your app needs no changes and no login code of its own.
The setup follows the same pattern each time:
In the Cloudflare dashboard, open Zero Trust and create a new self-hosted Access application.
Add the public hostname you published, such as
app.example.com.Add an Allow policy that names who may enter, for example specific email addresses or everyone at your company domain. Access denies everyone who does not match a policy.
Choose how people prove who they are. The one-time PIN option emails a code, so family or friends need no account anywhere. Google, GitHub and other identity providers also work.
Do this before you share the hostname, because until the application exists anyone who finds the address can open it. Dashboard menu names change from time to time, so follow Cloudflare's current Access documentation for the exact clicks.
A few habits keep the rest of the setup safe:
Guard your secrets. The tunnel token and the credentials file let someone run a connector for your tunnel. If either leaks, rotate the token or delete the tunnel and start fresh.
Bind to localhost. Make your app listen on
127.0.0.1where possible, so the tunnel is the only way in.Keep
cloudflaredupdated. Package managers handle this for you, and Cloudflare publishes regular releases.Remember who sees the traffic. Cloudflare ends HTTPS at its edge, so think twice before tunnelling data you would not trust a proxy with.
Where tunnels earn their keep
Tunnels suit anything that must be reachable but should not have an open port.
Use case | What the tunnel does | Watch out for |
|---|---|---|
Home lab and self-hosted apps | Publishes a dashboard, photo gallery or Git server from a spare machine at a stable hostname | Put Access in front, and check Cloudflare's terms and request size limits before serving large files or video |
Webhooks and demos | Lets a payment, chat or CI service call an app running on your laptop | Use a quick tunnel for a throwaway URL, a named tunnel when the URL must stay the same |
Remote SSH | Reaches a server over SSH with port 22 closed | The connecting device needs |
Internal tools | Exposes an admin panel or staging site to your team only | Pair the route with an Access policy for your company domain |
Hiding an origin | Keeps the real IP of a public site private | Only route traffic through the tunnel, and close the old public ports |
SSH deserves a closer look, because it is not a web protocol. Publish the route with an ssh://localhost:22 service, then add this to ~/.ssh/config on the device you connect from:
Host ssh.example.com
  ProxyCommand cloudflared access ssh --hostname %h
Now ssh [email protected] works from anywhere, your server keeps port 22 closed to the internet, and an Access policy can require a login first.
Gotchas and troubleshooting
Most tunnel problems come down to cloudflared being unable to reach your app, so check that first.
Symptom | Likely cause | What to try |
|---|---|---|
502 Bad Gateway |
| Run |
Cloudflare error 1033 | The DNS record exists, but no healthy connector is attached to the tunnel | Start |
Too many redirects | The app redirects HTTP to HTTPS while the Service URL is | Switch to an |
403 from the app | The app only accepts requests with a Host header it recognises | Set the |
Tunnel shows Degraded | One of the connections keeps failing, often because of a firewall | Allow outbound port 7844, or try |
Quick tunnel will not start | A | Rename the file while you test |
Three more things catch people out:
Healthy is not the same as working. The status shows that
cloudflaredis connected to Cloudflare, not that your app answers.Deleting a tunnel leaves its DNS record behind. Remove the CNAME in the DNS dashboard, or visitors keep landing on an error page.
There is an extra hop. Every request travels through Cloudflare, so visitors far from you may notice added latency compared with a direct connection.
Wrapping up
Cloudflare Tunnel replaces "open a port and hope" with "dial out and keep everything closed". Start with a quick tunnel to see it work in a minute, move to a named tunnel once you want a permanent hostname, and add Access before you share the link with anyone.
A sensible first afternoon looks like this:
Install
cloudflaredand run a quick tunnel against something on localhost.Create a named tunnel in the dashboard and publish one real app on your own domain.
Put an Access policy in front of it, then close any router ports you opened before.
Sources
Cloudflare Tunnel overview: outbound-only connections, four connections per tunnel, availability on all plans
Get started with Cloudflare Tunnel: dashboard steps, token install, published applications, the catch-all rule
Quick Tunnels: the command, limits and the
--allowed-mailoptionThe complete guide to Cloudflare Tunnel by Flavio Copes, updated Oct 7, 2026: CLI steps, Access setup, SSH and troubleshooting
Free-plan limits: the 50-user Zero Trust free tier comes from third-party pricing sites and is not confirmed on Cloudflare's own plans page, so verify it there
Frequently Asked Questions
What is a Cloudflare Tunnel and how does it work?
A Cloudflare Tunnel connects a local service to Cloudflare using outbound‑only connections; a cloudflared process on your machine dials out to Cloudflare, which then forwards incoming requests from a public hostname through the tunnel to your app.
What are the four pieces that make a Cloudflare Tunnel work?
The tunnel (a persistent UUID object), the connector (the running cloudflared process), the route (a rule mapping a public hostname to a local service URL), and the DNS record (a proxied CNAME pointing to <TUNNEL_ID>.cfargotunnel.com).
How does a quick tunnel differ from a named tunnel?
A quick tunnel is created with a single command, provides a random temporary URL, has no uptime guarantee, caps at 200 in‑flight requests, and lacks support for Server‑Sent Events; a named tunnel uses a permanent hostname on your own domain, requires a Cloudflare account, and can be configured for multiple services and persistent access controls.
What steps are needed to start a quick tunnel?
Install cloudflared (brew, winget, or apt), start a local server (e.g., python3 -m http.server 8080), then run cloudflared tunnel --url http://localhost:8080; the command prints a trycloudflare.com address that can be opened from any browser.
What are the prerequisites for creating a named tunnel via the Cloudflare dashboard?
You need a Cloudflare account, a domain whose DNS is managed by Cloudflare, and a machine with internet access that can reach Cloudflare on outbound port 7844. Then you create the tunnel in the dashboard, install the provided token on the machine, and configure routes and DNS.
How can you protect a published hostname with Cloudflare Access?
In the Zero Trust dashboard, create a self‑hosted Access application for the hostname, add an Allow policy (e.g., specific email addresses or a company domain), and choose an authentication method such as one‑time PIN, Google, or GitHub; only authenticated requests reach the tunnel.
What are common error symptoms and their likely causes when a tunnel fails?
502 Bad Gateway – cloudflared cannot reach the app (app stopped, wrong port, or mismatched http/https). Cloudflare error 1033 – DNS record exists but no healthy connector attached. Too many redirects – app forces https while Service URL is http. 403 from the app – missing or incorrect Host header. Degraded tunnel – one of the four outbound connections is failing, often due to a firewall blocking port 7844.
How can you expose an SSH service through a Cloudflare Tunnel?
Publish a route with service ssh://localhost:22, then add a ProxyCommand in ~/.ssh/config like ProxyCommand cloudflared access ssh --hostname %h; connecting with ssh [email protected] works from anywhere while port 22 remains closed to the internet and Access policies can enforce login.
Comments(0)
Join the discussion securely with your ZyVOP account.
Continue on ZyVOP to CommentNo comments yet. Be the first to comment!