

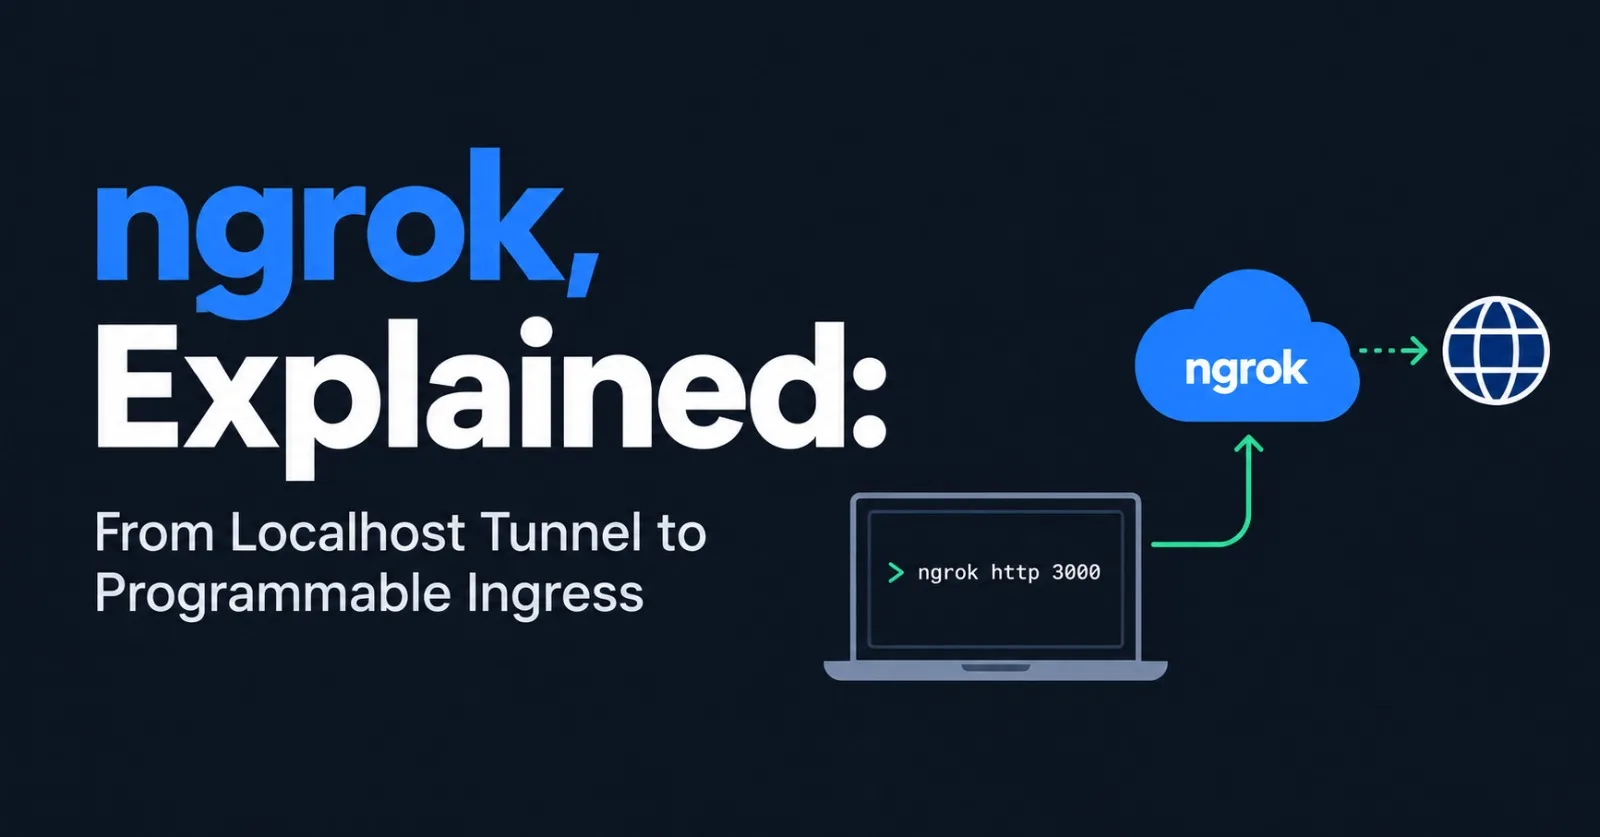
Every developer hits the same wall eventually. Your app runs perfectly on localhost:3000. Then Stripe needs somewhere to send a webhook, a teammate wants to try the new checkout flow, or an OAuth provider insists on a public HTTPS callback URL. Your laptop sits behind a router, a NAT, and maybe a corporate firewall. The internet can't reach it.
For over a decade, the answer has been one line:
ngrok http 3000Thirty seconds later you have a public https:// URL pointing at your machine. That trick made ngrok famous. But the product behind it has grown well past 'localhost tunnel', and understanding the bigger model is what separates people who use ngrok occasionally from people who use it well. This post covers both: the fast path first, then the deeper picture.
How it works: the mental model
There are three moving parts:
The agent. A small program (or an SDK embedded in your own app) that runs next to the service you want to expose.
The ngrok cloud. The edge that receives public traffic, terminates TLS, and decides what to do with each request.
The endpoint. A public address plus the rules for handling traffic that arrives there.
The key design choice is that the agent opens an outbound, encrypted connection to ngrok's cloud. When a request hits your public URL, the cloud sends it down that already-open connection, your agent hands it to the local service, and the response travels back the same way.
Browser / Stripe / teammate
        |   https://your-name.ngrok.app
        v
   ngrok cloud   -- applies Traffic Policy (auth, rate limits, rewrites)
        |   (existing outbound connection)
        v
   ngrok agent   -->   localhost:3000
Because the connection starts from your side, you need no port forwarding, no firewall exceptions, and no static IP. Your machine never accepts inbound connections from the internet. ngrok's edge does.
Quickstart in three commands
Install the agent (Homebrew, a Windows package, apt, or a direct download from ngrok.com) and create an account.
Connect the agent to your account with your authtoken:
ngrok config add-authtoken <YOUR_TOKEN>Expose a local port:
ngrok http 3000The terminal shows your public forwarding URL. It also tells you about a local web interface, normally at http://127.0.0.1:4040, which turns out to be one of ngrok's best features (more on that below).
Not everything is HTTP. The same idea works for raw TCP, such as SSH into a box behind a NAT:
ngrok tcp 22Where ngrok earns its keep
Webhook development. Stripe, GitHub, Slack, Twilio, Shopify: they all need a public URL to call. This is the single most common use.
OAuth and OIDC callbacks. Many identity providers require an HTTPS redirect URI that isn't
localhost.Demos and feedback. Send a client or teammate a link to the thing running on your laptop right now, with no deploy.
Real-device testing. Point a phone or an IoT prototype at your dev API without fiddling with LAN addresses.
Local AI tooling. Hosted tools that need a URL for a local model server or MCP server can reach it through a tunnel. Lock it down first (see the security section).
Home labs. Reach a service on a Raspberry Pi or home server without opening ports on your router.
The webhook loop: ten minutes that save hours
Run ngrok http, paste the URL into your provider's webhook settings, and open the inspector at http://127.0.0.1:4040.
Every request and response that passes through the tunnel is recorded there: method, headers, body, status, timing. The part that changes how you work is replay. When your handler throws on the fifth line, you fix the bug and replay the exact same request with one click, instead of triggering another test payment, another push, or another form submission. Debugging a flaky webhook handler goes from a ten-step ritual to edit, save, replay.
Two habits make this loop better:
Verify webhook signatures even in development, so the code you ship is the code you tested. ngrok can also check signatures from several popular providers at the edge through a Traffic Policy action, which means forged requests never reach your laptop. See the action list in the docs for supported providers.
Keep your URL stable, which brings us to the next point.
Give it a permanent address
With a random URL, every restart means re-pasting webhook settings into three dashboards. Use a reserved domain instead:
ngrok http 3000 --url https://your-name.ngrok.appReserved domains can be ngrok-provided or your own custom domain. Plan limits on how many domains you get have changed over time, so check the current pricing page rather than trusting a blog post, including this one.
The bigger picture: endpoints and Traffic Policy
Modern ngrok is built around endpoints, and there are three kinds worth knowing:
Type | Where it lives | Good for |
|---|---|---|
Agent endpoint | Created by an agent, SDK, or the Kubernetes Operator, and forwards traffic to an upstream you choose | Development, quick sharing, getting started |
Cloud endpoint | Lives in the ngrok cloud. Persistent and always on, managed from the dashboard or API, and does not forward to an agent by default | A stable public front door with centrally managed policy |
Internal endpoint | Private. Receives traffic only when another endpoint forwards to it with the | Backends that should never be publicly reachable |
A very common production pattern combines all three: a public cloud endpoint holds the policy, then routes by hostname, path, or header to internal agent endpoints. Developers and services come and go behind it; the front door and its rules stay put.
What ties it together is Traffic Policy, a rules engine you write in YAML or JSON. Rules run in phases (when a TCP connection opens, when an HTTP request arrives, when a response goes out). Each rule has optional expressions (conditions) and one or more actions (what to do). Here is a policy that puts a staging site behind Google login and admits only people with a company email address, with zero auth code in your app:
on_http_request:
  - actions:
      - type: oauth
        config:
          provider: google
  - expressions:
      - "!actions.ngrok.oauth.identity.email.endsWith('@yourcompany.com')"
    actions:
      - type: deny
        config:
          status_code: 403
Apply it to a quick tunnel from a file:
ngrok http 3000 --traffic-policy-file policy.ymlThe same policy language covers rate limiting, IP allowlists, JWT validation, header and URL rewriting, redirects, custom responses, and routing between endpoints. Action names and options evolve, so treat the Traffic Policy docs as the source of truth when you write your own.
Build it into your own code
You don't have to run the CLI at all. ngrok maintains SDKs for Go, JavaScript, Python, and Rust, so your application can create its own endpoint on startup. In Node it looks like this:
const ngrok = require('@ngrok/ngrok');

(async () => {
  const listener = await ngrok.forward({ addr: 8080, authtoken_from_env: true });
  console.log('Public URL: ' + listener.url());
})();
This is handy for integration tests that need a real public URL, internal tools that hand out temporary links, and dev servers that should come up already reachable.
From laptop to cluster
If you run Kubernetes, the ngrok Operator brings the same model to your cluster. Standard Ingress resources work with ingressClassName: ngrok, and custom resources such as AgentEndpoint and CloudEndpoint give you direct control over endpoints and their Traffic Policy. One detail worth knowing: because cloud endpoints live in ngrok's cloud, they stay reachable as a front door even if the cluster running your Operator goes down.
Sharp edges: a security checklist
A tunnel is a public door to whatever sits behind it. Most ngrok horror stories are not ngrok bugs; they are exposed things nobody meant to expose.
Don't tunnel what you wouldn't put on the internet. Databases, admin panels, debug consoles, and notebooks with code execution are the classics.
Add authentication at the edge for anything beyond a throwaway demo: OAuth, basic auth, JWT validation, or an IP allowlist, all configurable through Traffic Policy.
Treat your authtoken like a password. Keep it out of git, load it from an environment variable in CI, use separate tokens for separate machines and purposes, and rotate it if it leaks.
Shut tunnels down when you are done. Check the dashboard for endpoints you forgot about.
Mind your organization's rules. Some companies prohibit tunnels outright; team and organization accounts exist so that usage can be visible and governed.
Expect a browser warning page on free plans. Free HTTP endpoints can show visitors an interstitial before your app, partly because free tunnels have historically been abused for phishing. If it gets in the way of your own tooling, send the
ngrok-skip-browser-warningrequest header, or use a paid plan.
Honest alternatives
ngrok is not the only way to do this, and sometimes it isn't the best:
Cloudflare Tunnel (
cloudflared) is a strong choice if your domains already live on Cloudflare and you want long-lived named tunnels.Tailscale Funnel fits neatly if your team already lives on a tailnet.
Self-hosted options such as frp, bore, and zrok suit people who want to run the infrastructure themselves.
SSH-based services such as localhost.run need no install at all, with fewer features.
A fair rule of thumb: ngrok wins on speed to first URL, the inspector and replay workflow, and a built-in policy engine. Alternatives may win on price, self-hosting, or fit with infrastructure you already run.
Cheat sheet
# one-time setup
ngrok config add-authtoken <YOUR_TOKEN>

# expose a local web app
ngrok http 3000

# stable address
ngrok http 3000 --url https://your-name.ngrok.app

# add rules (auth, rate limits, deny lists)
ngrok http 3000 --traffic-policy-file policy.yml

# raw TCP, e.g. SSH
ngrok tcp 22

# inspect and replay traffic
# open http://127.0.0.1:4040
The takeaway
ngrok started as a clever way to show your laptop to the world. It has become a way to put a programmable, secure front door on anything, whether that service runs on your desk, in a cluster, or inside an application you are shipping. Start with ngrok http. Graduate to a reserved domain when re-pasting URLs gets old. Add Traffic Policy the moment anyone besides you can reach the URL. And when a project outgrows the laptop, look at cloud endpoints.
Pricing, plan limits, and some product names change often, so confirm the details at ngrok.com/docs and the pricing page before you build on them.
Comments(0)
Join the discussion securely with your ZyVOP account.
Continue on ZyVOP to CommentNo comments yet. Be the first to comment!